Today's bento is very simple, nevertheless I spent hours in the kitchen making the multi-grain fried rice and gyoza (Japanese pan-fried dumplings). I went to an Asian market today and I saw some packets of 'Fine ten grains' (see the picture below), I quickly grabbed a packet because I have been looking for other alternatives to white rice. I do realise that I've been eating way too much white rice after I have started bentoing that I don't feel so well anymore. I've bought some brown rice and bulgur too. We'll see what I'll do with them...

I still had quite some leftover chasu and chicken teriyaki from yesterday's sushi making session, so I decided to fry the multigrains with the leftover chasu and chicken teriyaki - this tasted fantastic by the way and absolutely worth a try!

Multi-grain Fried Rice
  • 1 cup 'Fine Ten Grains'
  • 1.7 cups water
  • Chopped chasu
  • Chopped chicken teriyaki
  • A few pieces of Shiitake mushrooms, chopped
  • 1 tablespoon oil
  • 1 tablespoon minced garlic
  • 2 tablespoons fish sauce
  • 1 tablespoon oyster sauce
  • A pinch of pepper and sugar
Cook the multigrains with the water in a rice cooker. After it has cooled down, heat your wok with 1 tablespoon oil. Add garlic and stir fry until the garlic is slightly brown. Toss in the rest of the ingredients (except the multigrains) and stir fry for about 1 minute. Lastly add the multigrains and mix well.


'Fine Ten Grains' - brown rice, sorghum rice, buckwheat, barley, pearl rice, wheat oat, job's tear, millet, black glutinous rice


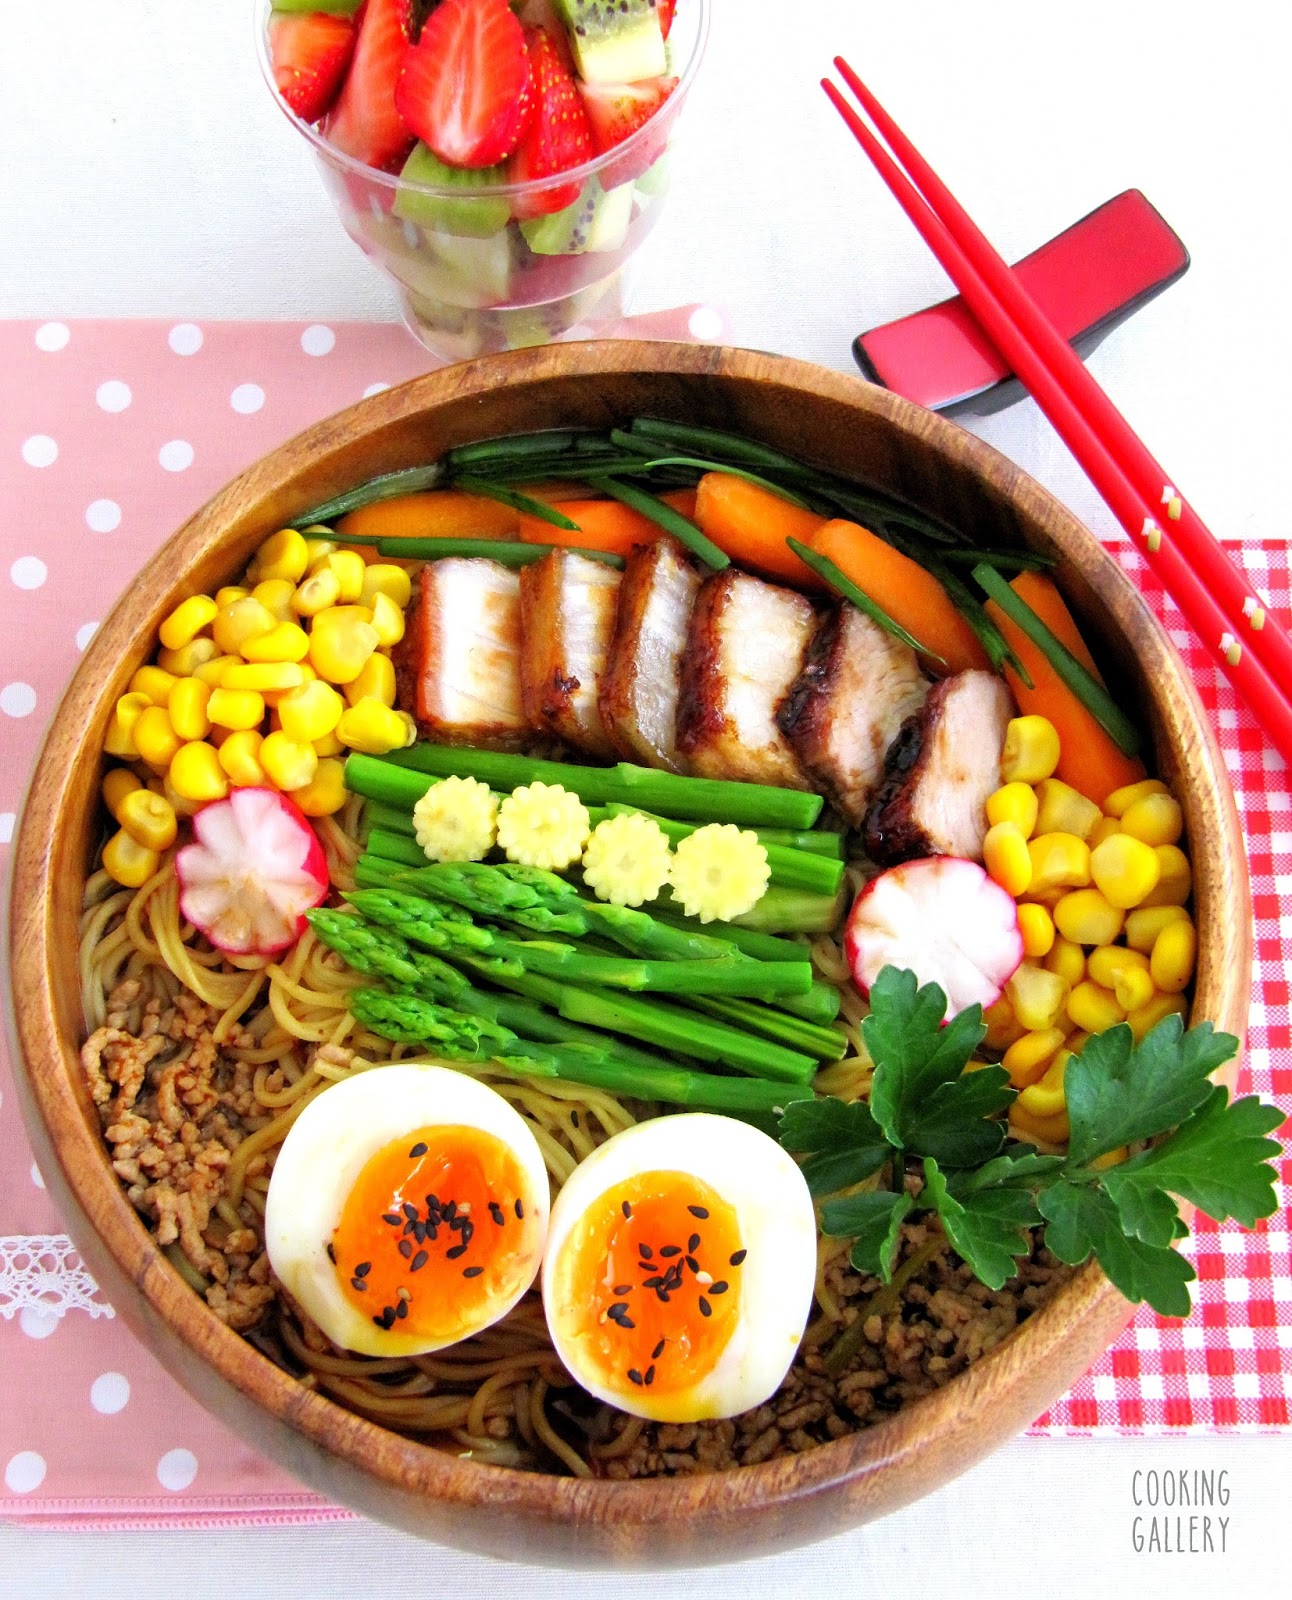
We went to KFC today and I bought some hot chicken wings for take-away. Notice the KFC chicken wings in the left bento box ;)? The little chick is made out of mini mozzarella cheese and the little flowers on top of the multigrain fried rice onigiris are naruto maki (fishcakes) and baby corn.

Don't forget, my giveaway ends tomorrow, 31st May 2011, at midnight GMT +1. Click the banner below to find the details and enter the giveaway...!


Bookmark and Share

The last few weeks I have been very much into sushi. After work I quite regularly visited Maruyasu, a chain-sushi restaurant, located in Frankfurt Hauptwache. I really like the rice there, very well-cooked and seasoned. I wrote a bit about the bento boxes that they sell here.

Maybe some of you still remember my older post about a current bento contest which is held by two Italian blogs, Kitty's Kitchen and Semplicimente Pepe Rosa and that it is going to be over quite soon - Thursday, 2nd June...!


I've thought about participating, so here's the bento box meal which I want to enter to the contest: sushi bento. Overall, I quite like the festive mood of this bento box, but I find the piggy temari sushi (ball-shaped sushi) too red - I guess, I used too much beet juice :(.


I made some temari sushi (ball-shaped sushi) and maki sushi (rolled sushi). The piggy shaped temari sushi is filled with prawn tempura and mayonnaise and the three temari sushi behind some maki sushi are sushi rice and prawn tempura wrapped in kimchi leaves and fastened with a string of green onion. The two little piggies sitting on top of the kimchi temari sushi are made out of quail eggs which are tinted with red beet juice. The ears and snouts are made out of deli meat and the eyes and nose holes of nori. The rosy cheeks are chili sauce.

I made three different types of maki sushi: prawn tempura maki sushi (of course, because I simply ADORE prawn tempura...!), chasu maki sushi and chicken teriyaki maki sushi.


Basic Sushi Rice
  • 3 cups short grain rice
  • 3 cups water
  • 1/2 cup rice vinegar
  • 1/4 cup sugar
  • a pinch of salt
Instructions
  • Wash the rice until the water almost runs clear.
  • Cook the rice/water mixture in a rice cooker.
  • Make the vinegar/sugar/salt mixture in a separate bowl.
  • When the rice is cooked, pour in the vinegar mixture and gently mix the rice.
Prawn Tempura
  • Prawns,
  • 1/2 cup cold (non-dark) beer /cold soda water
  • 1/2 rice flour
  • 1/2 tbs oyster sauce
(You can also use Tempura instant mix instead of making your own tempura batter)

Instructions

  • Whisk cold beer, oyster sauce and rice flour in a bowl.
  • Coat the prawns with flour before dipping them in the tempura batter mixture.
  • Deep fry for 12 seconds.

Simple Chicken Teriyaki

  • 2 Chicken breasts
  • 100-150 ml of soy sauce
  • 2 tbs sugar (or more if you like it sweeter)
  • 2 tbs sake
  • 4 tbs mirin
  • A slice of ginger
Instructions
  • Oil your skillet, add chicken breasts.
  • When the chicken breasts are slightly brown on both sides, add all the other ingredients.
  • When the sauce thickens, you can turn off the heat.
  • Slice before serving.

Kimchi
  • 2 Napa cabbages
  • App. 1 cup salt
  • 1/2 cup glutinous rice flour (if you don't have this, change with tapioca flour or normal all purpose-flour)
  • 3 cups water
  • 1/4 cup sugar
  • 4-6 cups hot pepper flakes
  • 1 cup fish sauce
  • 1 cup minced garlic
  • 1 tbs minced ginger
  • 1 onion, minced
  • 2 tbs sambal oelek (optional)
  • 1 cup green onions, cut into 7 cm pieces
  • 1 cup carrots, julienned
Instructions
  • Soak the cabbage pieces in water, drain and transfer them to a big bowl.
  • Sprinkle the cabbage with salt. Make sure all sides are salted.
  • Turn over the cabbage pieces every 30 minutes. This process takes 1.5 hours.
  • After 1.5 hours, rinse the cabbage in water - make sure you get rid of the salt covering the cabbage. Drain and set aside.
  • Kimchi paste: combine the glutinous rice flour and water together and mix it well. Cook this mixture under medium heat. You have to keep stirring (very important) until it gets thick and somehow sticky and translucent like glue.
  • Transfer this mixture into a bowl.
  • Add sugar and mix well.
  • Add fish sauce, hot pepper flakes, minced garlic, ginger and onion.
  • Add sambal oelek, green onions and carrots. Mix everything well. Keep tasting the paste, and adjust to your liking.
  • The last thing to do is to add the cabbage pieces into the kimchi paste.
  • Mix, mix, mix...and your kimchi is ready! Keep it in an airtight container and save it in the fridge until you want to savour it another time...:)!

Chasu (Japanese BBQ pork)
You can find the original recipe in Nami's wonderful website - Just One Cookbook
  • 250 - 300 grams pork belly
  • 1 tablespoon dashi powder
  • 2/3 cup water
  • 1/3 cup sake
  • 1/3 cup soy sauce
  • 3 tablespoons sugar
  • 1-2 inches ginger, sliced
  • 1 stalk spring onion, sliced
Instructions
  • Cut the pork belly into 6 cm pieces and rub with dashi powder.
  • Brown the pork belly pieces in a non-stick pan.
  • While browning the pork belly, pour water, soy sauce, sake, sugar, ginger and spring onions to a saucepan.
  • Transfer the browned pork belly pieces to the saucepan. Cook the meat over medium heat and when it starts to simmer, lower the heat and continue cooking (and occasionally turning the meat) until the liquid is almost gone.
  • When bubbles start to appear, you'll notice that the liquid starts to caramelise and gets slightly sticky. You can turn off the heat now.
  • Cut the meat into thin slices and serve.


Besides sushi, there are also two cheese daisies, deli meat sakura flowers, two pieces of radish, four baby carrots, two pieces of strawberries and a piece of grape.

Now, last but not least, I'd like to say thank you to LynTrinix for bestowing me with these two awards below....:D). She has been most kind and one of the most supportive bento friends I have. Thank you, Lyn, I am deeply honoured to get these awards from you :)!


Bookmark and Share


As some of you know, I wasn't very happy with my very first Totoro bento, because I felt that the Totoro didn't look so much like the real Totoro and the grey part looked so rough because I didn't grind the black sesame seeds. Anyway, I did a bit of research today about Totoro, the story and the other characters involved because I've never watched the film. I even watched the trailer from YouTube and found him totally adorable, making me want to make another Totoro-themed bento...! Totoro is also now on the list of DVDs which I want to borrow for our future 'movie night' :).

So, here's my second Totoro-themed bento with Totoro and Chu Totoro (I didn't even know before that there are 3 types of Totoro - the biggest one and the most popular one, Totoro, is a grey, gigantic, friendly spirit of the forest. The middle one, Chu Totoro, is blue and usually carries a sack of acorns on its back. The smallest one is Chibi Totoro, which is white and can run very fast. For more information about the Totoro characters, you can click this link here.

Since I made the Totoros with quail eggs, Totoro and Chu Totoro are equally big (Totoro is supposed to be much larger than Chu Totoro), I do find them quite cute though. Next time when I make another Totoro bento, I'll try to include all three Totoros and make sure that Totoro is much larger than the other two Totoros.

I coloured Totoro with soy sauce and Chu Totoro with red cabbage (simply cook some chopped red cabbage for a few minutes until the water turn purple. Remove the cabbage and let the quail eggs sit in this purple water for a few minutes until they turn light blue). The eyes, nose and the 'tummy markings' are made out of nori. I used this quail egg puncher to make the eyes, nose and markings - made my life so much easier. The whiskers are soba noodles.

The Totoros are sitting on top of Vietnamese Beef Pho noodles :D). This is certainly not a bento which you can really bring to work (or uni or school) because of the soup - unless you make instant pho noodle soup, then you can just bring the seasoning sachets with you and add the hot water at work.

The recipe for the noodle soup is here.

Bookmark and Share


I got my Rilakkuma food picks which I ordered online from Ebay yesterday. I was very happy because I didn't expect the food picks to arrive so soon, since they're from Hong Kong and I just ordered them a few days ago. I make Rilakkuma-themed bentos quite regularly, so Rilakkuma food picks are certainly a good addition to my bento accessories collection.

This time I made Rilakkuma (the brown bear), Korilakkuma (the white bear) and Kiroiitori (the chick) together. All three onigiris are filled with prawn tempura, mayonnaise and a bit of lettuce. Rilakkuma is coloured with soy sauce and Kiroiitori with turmeric powder. Next to the bento box is store-bought spaghetti' ice cream - actually simply vanilla ice cream with strawberry sauce and a sprinkle of chopped white chocolate. I love spaghetti ice cream because I think it looks so cool ;).


By the way, I also would like to thank Xinmei from Pudding Pie Lane for passing me the following three awards :). She's an economics student who is passionate about baking, cooking and recently (I hope) also making bento (;)).

I am supposed to write 7 random things about myself now, but honestly, at the moment I can't think of anything, so for the time being please look at this link where I have written 7 random things about myself in the past.


I'd like to pass on these 3 awards to these amazing people:


Have a great weekend, everyone :D)!


Bookmark and Share


I managed to find time to make bento dinner today. Probably you shouldn't believe me when I say that I will not have the time to make bento for the next few days...;). Hope you're not bored to death by my constant bento posts...!

I have seen Rilakkuma inari sushi in a lot of Japanese bento sites and I've been wanting to make it myself for some time. I couldn't though, because I didn't have the deep-fried tofu pouches (inari) which are needed to make inari sushi. However, I had the chance to visit an Asian market on the way home from work today and got myself a can of inari skins. I am actually not a big fan of inari sushi, I tried it once ages ago but didn't like it because I found the inari skins too sweet. I was nevertheless willing to give it another try just for the sake of some Rilakkuma inari sushi ;) - Unfortunately, after a few years I still think it's not my cup of tea, so I only ate the sushi rice and had to put away the tofu skins...

I know that I've made quite some Rilakkuma-themed bentos, I am not crazy about Rilakkuma, but I find him quite adorable and a good (and quite simple) bento model. I think the white-coloured bear is actually called 'Korilakkuma', a smaller female bear and the brown-coloured one 'Rilakkuma'. I have been calling everything 'Rilakkuma' in the past, both brown and white - please excuse my ignorance ;).


The right bento box has got Korilakkuma in a Rilakkuma suit inari sushi and behind her is the real Rilakkuma (I hope this is not too confusing for people who are not familiar with these two Japanese characters ;)). On top of the Rilakkuma inari sushi is another mini Rilakkuma made of quail egg. There are also two pieces of steamed shao mai, lettuce and a few slices of mini corn.

The left box is filled with one mini chicken cordon bleu, one Rilakkuma quail egg, two mini corn/asparagus/deli meat rolls, two slices of tamagoyaki, one ham flower, half a piece of radish, three slices of strawberries and a few pieces of grapes.


Bookmark and Share
I will be quite busy next week, so I doubt that I will be able to make some bento lunches/dinners regularly. Because of this reason I decided to post a few pictures of some of my favourite older posts which are not bento related, so that you don't have to leave my blog feeling disappointed that there is no new post... ;). After all, I never thought of starting 'Cooking Gallery' as a bento blog (not that I regret the recent bento evolvement...:)).

Here are some of my favourite older posts in no particular order. You'll notice that my photography style was quite different in the past. When you click the pictures, you will be directed to the linked recipes.

Mandu Soup


Bookmark and Share


Yesterday I received my newest bento box from CasaBento. I didn't actually expect the bento box to be THAT gorgeous...! When I saw the bento box in CasaBento's site, I thought it looked nice, but I only thought of that as one of many nice bento boxes and that it was nothing so special. I decided to get this bento box with Ikebana design because I was simply looking for another design and shape to add to my bento box collection. What I received yesterday was beyond my expectation. You can feel the quality just by looking at it. By the way, I am not exaggerating at the moment and I don't praise this new bento box so much just because CasaBento is my sponsor, when I am not so happy with one of their products, I'll write about it too ;).


Just look at this beauty...!


It's got plastic lids to cover each of the bento container.


This bento box is also microwave and dishwasher safe, but you should remove the plastic lids before you put the bento box in the microwave.

As some of you might have known, CasaBento is a French-based online bento- supplies shop. I had seen CasaBento logo in some bento-related sites for some time, but I never thought about buying anything there, because I was just not used to buy anything online which was not from Amazon. I usually buy my books from Amazon and have always found their service reliable, this was also the reason which led me to buy my first bento box via Amazon. I was actually totally happy with my purchase there and even thought that the box was rather expensive but still quite reasonably-priced. But then, because I couldn't find more interesting bento boxes to buy from Amazon, I started to look around in other online shops and I was especially looking for Europe-based online shops to have less expensive shipping cost. Suddenly I remembered CasaBento again and went to their site and browsed their products. Then I saw my first bento box there and got quite annoyed, because I noticed that the exact bento box which I bought in Amazon was twice more expensive than the one in CasaBento...! Not very nice, but one lesson learned was, 'always compare prices' ;).


This was our dinner - very simple duck fried rice topped with slices of cucumber and cheese sakura blossoms. Next to the fried rice you can see one ham rose (I intend to do a tutorial on this in about one week's time when I have more free time), a few pieces of edamame, three pieces of blanched baby carrots, one cherry tomato, one piece of radish and lettuce.

The top box is filled with several pieces of grapes and strawberries, lettuce border, two pieces of mini Cordon Bleu, two ham roses and one slice of tamagoyaki.

Simple Duck Fried Rice - serves 2
  • 1 cup cooked rice (better when one day old)
  • 2 tablespoons olive oil
  • 100 grams roasted duck breast, cut into cubes (I like buying pre-made duck breast to save time)
  • 2 tablespoons fish sauce
  • 2 tablespoons oyster sauce
  • 1 tablespoon soy sauce
  • 1/2 teaspoon white pepper
  • 1 egg
  • 2 -3 tablespoons chopped green onions
Instructions:
  • Heat up your wok to high. Add 2 tbs oil.
  • Add duck breast and fish sauce and stir fry for 1 minute.
  • Quickly toss in the rice, oyster sauce and sweet soy sauce. Stir fry for another 1 minute.
  • Push rice to one side of the wok and make scrambled egg on the other side.
  • Mix rice and scrambled egg well.
  • Add chopped green onions and white pepper and stir well before serving.

This fried rice is super simple because it doesn't use garlic or shallots. There are times when I am even too lazy to peel and mince garlic/shallots and this afternoon is one of those days ;). I can nevertheless guarantee that this fried rice still tastes super good! Chopped green onions can compensate the missing garlic...!

Bookmark and Share


I knew I had to make Chasu Miso Ramen after I saw the recipe in Nami's beautiful site - Just One Cookbook. The recipe sounded quite simple and not as time-consuming as when you want to make ramen noodle soups that use pork bones for the stock. Since I love shortcuts, I was totally sold on the idea of using ground pork for the stock which makes the cooking time much shorter, around 40 minutes in total. This is the second time I make homemade miso ramen. I got the recipe for my first miso ramen from a cooking-themed manga 'Oishinbo' ;). It was delicious too, but Nami's ramen tastes better, especially because of the gorgeous chasu (Japanese BBQ pork). I am sure I will make more chasu in the future, it's so easy to make and tastes absolutely wonderful!

I did make a few changes to the recipe because I didn't have everything requested from the original recipe, such as bean sprouts and pickled ginger, but all in all, I tried to follow Nami's recipe quite religiously.

Ingredients - serves 2

Homemade Chasu
  • 250 - 300 grams pork belly
  • 1 tablespoon dashi powder
  • 2/3 cup water
  • 1/3 cup sake
  • 1/3 cup soy sauce
  • 3 tablespoons sugar
  • 1-2 inches ginger, sliced
  • 1 stalk spring onion, sliced
Miso Ramen
  • 2 garlic cloves, minced
  • 1 tablespoon minced ginger
  • 1 shallot, minced
  • 1 tablespoon sesame oil
  • 100 gram ground pork
  • 1 tablespoon hot bean paste
  • 3 tablespoons miso
  • 1 tablespoon sake
  • 1 tablespoon sugar
  • 1 tablespoon sesame seeds, ground
  • 1 teaspoon dashi powder (or salt)
  • 1/2 teaspoon white pepper
  • 4 cups boiling water
  • 2 servings fresh ramen noodles (if you want to make fresh ramen noodles yourself, you can see the recipe in my old post here)
Toppings
  • Homemade chasu
  • Corn kernels
  • Blanched asparagus
  • Semi hard-boiled egg
  • Blanced baby carrots
  • Green onions
  • Radish
Instructions

Homemade Chasu
  • Cut the pork belly into 6 cm pieces and rub with dashi powder.
  • Brown the pork belly pieces in a non-stick pan.
  • While browning the pork belly, pour water, soy sauce, sake, sugar, ginger and spring onions to a saucepan.
  • Transfer the browned pork belly pieces to the saucepan. Cook the meat over medium heat and when it starts to simmer, lower the heat and continue cooking (and occasionally turning the meat) until the liquid is almost gone.
  • When bubbles start to appear, you'll notice that the liquid starts to caramelise and gets slightly sticky. You can turn off the heat now.
  • Cut the meat into thin slices and serve.
Miso Ramen
  • Heat sesame oil over medium heat. Add minced garlic, shallot and ginger and fry until slightly brown.
  • Add minced meat and stir-fry for one minute.
  • Add hot bean paste, sake, sugar, dashi powder, ground sesame seeds and pepper and stir-fry until aromatic.
  • Add boiling water and lower down the heat before adding the miso paste. Stir and keep warm.
  • Meanwhile, cook ramen noodles for 1.5 - 2 minutes. Transfer to a serving bowl.
  • Add your favourite toppings and pour the ramen stock. Enjoy!


Why do I call this a German duckling bento? Well, it's because this bento is very German. The bento boxes contain German style roasted duck breast with Kartoffelknödel (German potato dumplings) which lie on top of a bed of braised red cabbage (which you unfortunately can't see in the the pictures). This is actually a very festive menu which is normally eaten during Christmas time here in Germany, but because I love this dish so much, I do make it from time to time when I crave for it, instead of waiting patiently until Christmas ;). You'll notice that I absolutely adore this specific German dish when you browse my recipes under the 'German' label. There are only nine recipes there, but four or the recipes are all duck/goose related...:). Preparing this dish normally does take a lot of time, and I wouldn't usually make it on a weekday and especially not after work. Luckily I live in Germany and getting pre-made roasted duck breast, red cabbage and potato dumplings is quite easy, so all in all it only took me around 30-35 minutes to make this bento dinner. Here is a link to my very first post of German Roasted Duck with Red Cabbage and Potato Dumplings (that's why please excuse the rather unsightly pictures...!!).

I wasn't really sure how I wanted to decorate the potato dumplings, but I knew that I wanted them to look like little ducklings or chicks. The ducklings didn't turn out as good as I wanted them to be, but I guess they're quite acceptable to look at.

By the way, the salad bowl was my husband's. He didn't want to eat anything big for dinner because he had had a quite big lunch. He's the healthy eater in the family unlike me...;).


Bookmark and Share


I've been quite amazed by how active I am now in bento making...! I always thought that I wouldn't really manage to make bento lunches (well, dinners, in my case) after work. But I do. I think it's because I find bento-making very relaxing. It's the time when I can switch off my mind, forget about all troubles and just use my full energy to be creative.


Today's bento is quite Greek, even though it doesn't look so obvious in the photos. I had rice with Gyros, which I didn't make myself because I can very easily find super yummy pre-made gyros in almost all German supermarkets. To accompany the gyros, I had Tzatziki sauce, slices of red onion, two slices of mini pepper, blanched asparagus, half a quail egg, lettuce and two slices of strawberry. The two little cockerels on top of the bed of rice are made out of quail eggs. Behind the rice there are also two pieces of Kartoffeltaschen - something like potato cakes filled with cream cheese and some herbs, and of course a deli meat flower to prettify the bento box.

Today is another day I came home starving because I didn't eat anything the whole day - at least the bento dinner tasted extra delicious because of this ;).


Bookmark and Share


Simple bento again today: Spaghetti Bolognese with blanched asparagus, decorated with deli meat sakura blossoms and sunflower cheese. There are also a pieces of grapes, strawberries and a mini pepper.


Bookmark and Share


Another bento lunch to add to the Rilakkuma series :). I am sure, some of you still remember the Koala Rilakkuma and the Tiger Rilakkuma bento. This Rilakkuma bear in a dragon suit was quite challenging to make. And in the end instead of getting some praise for my hard work from my husband, when I asked him to guess what it was, he said it looks like a bunny in a koala suit....;)! Oh well, I don't blame him, the suit doesn't really look like a dragon. I wanted to make a cute dragon, but it turned out more like a green monkey ;).

The green dragon suit was tinted with mashed edamame, the dragon's nose from cheese and some facial features from nori and deli meat.

The other box is filled with chicken katsu, two pieces of steamed shao mai, one deli meat flower, a few pieces of blanched asparagus, two cheese flowers, one slice of nori tamagoyaki, lettuce and half a strawberry. I usually eat my chicken katsu with mayonnaise and tonkatsu sauce. I think mayo and tonkatsu sauce go very well together...!


By the way, I would also like to thank Manu from Manu's Menu for bestowing me with the Versatile Blogger award below. She has many delicious Italian recipes in her blog. Do visit her blog, it's worth it :)!


Lani from Food, Cooking & Capturing and Food, Glorious Food! also gave me these 8 delightful awards :). Thank you for being so kind...! Lani has started making some bento lunches too (Keep up the good work :D)!!) and Food, Glorious Food! is a new food blog with beautiful, mouthwatering recipes and photographs.


Now, I have to get some sleep because it's getting late again here... So, have a good night, everyone :)!


Bookmark and Share
Next PostNewer Posts Previous PostOlder Posts Home